Roasting coffee at home can seem intimidating, but can actually be fun, easy and quite affordable. In a few simple steps and with under $30 of equipment and materials, I’ll share how you can easily start roasting coffee from the comfort of your own home. The process takes less than 10 minutes to complete and it is incredibly rewarding to drink coffee you roasted just a few days before.
The Equipment
To get started roasting coffee at home, you don’t need a lot of equipment at all. There are a variety of ways you can roast coffee at home including over the stove with a cast iron skillet, in the oven, etc. While these all work, they take a lot more time and seem to be a bit more finicky. I found a simple hot air popcorn popper to be the easiest, quickest option.
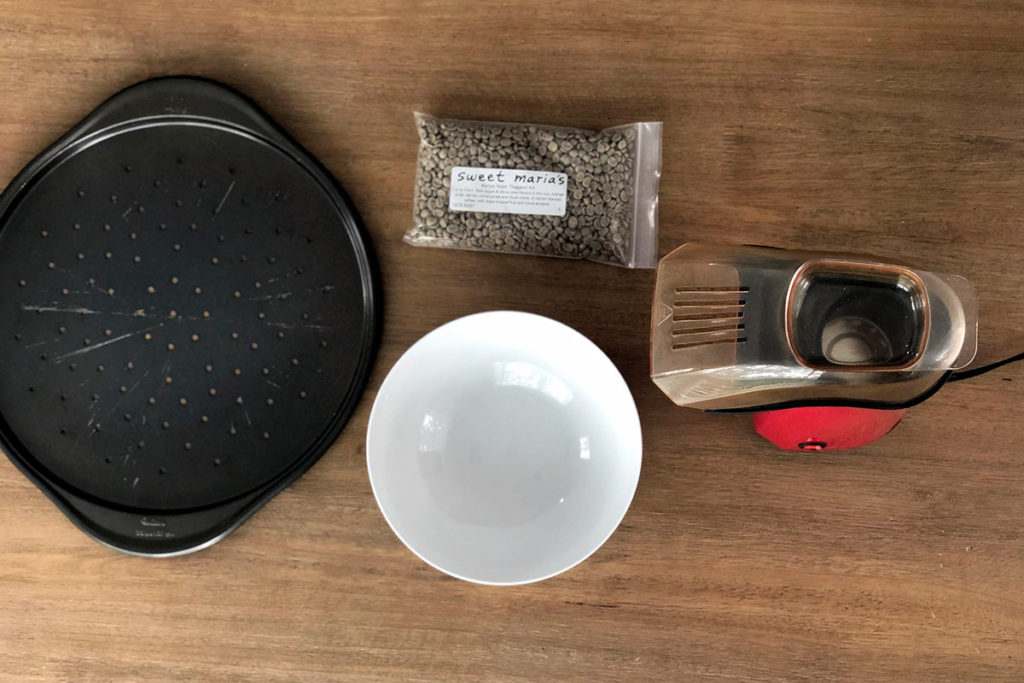
Here’s the equipment you need to get started roasting coffee at home:
- Hot Air Popcorn Maker
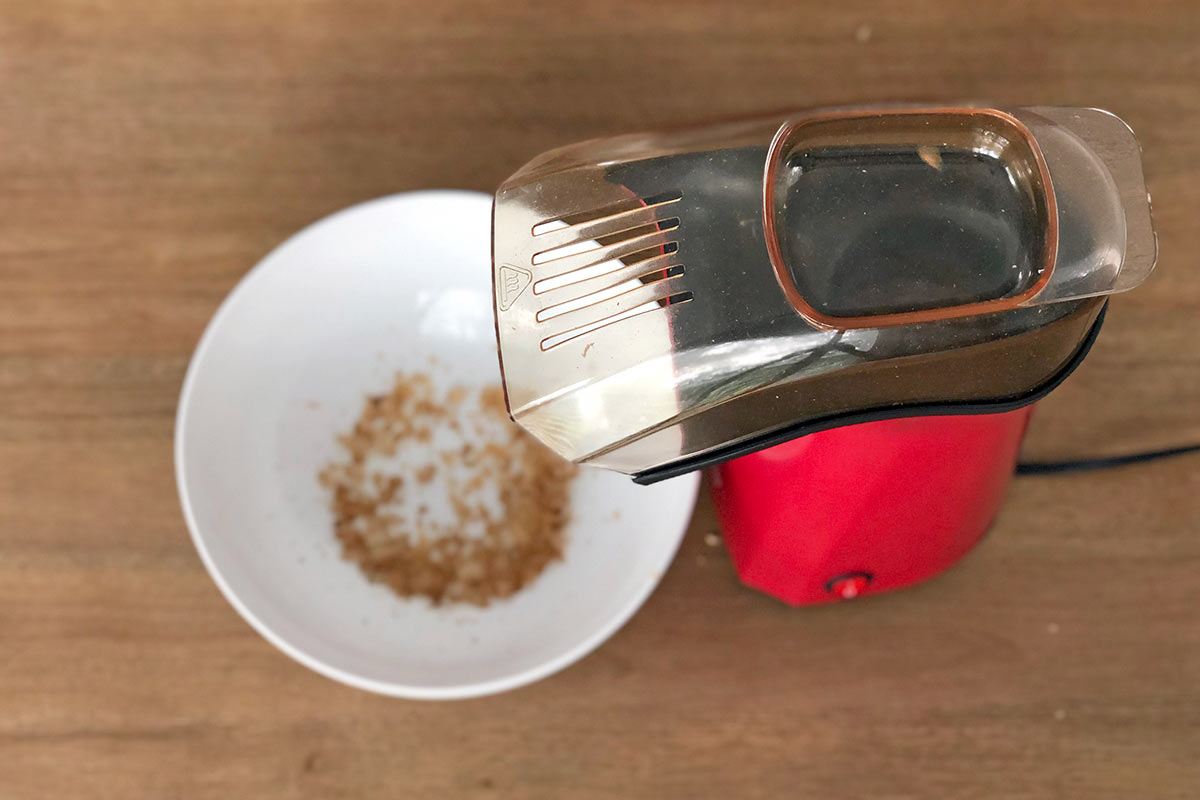
- Bowl to catch chaff from coffee (chaff is dried skin from a coffee bean, which comes off as you roast)
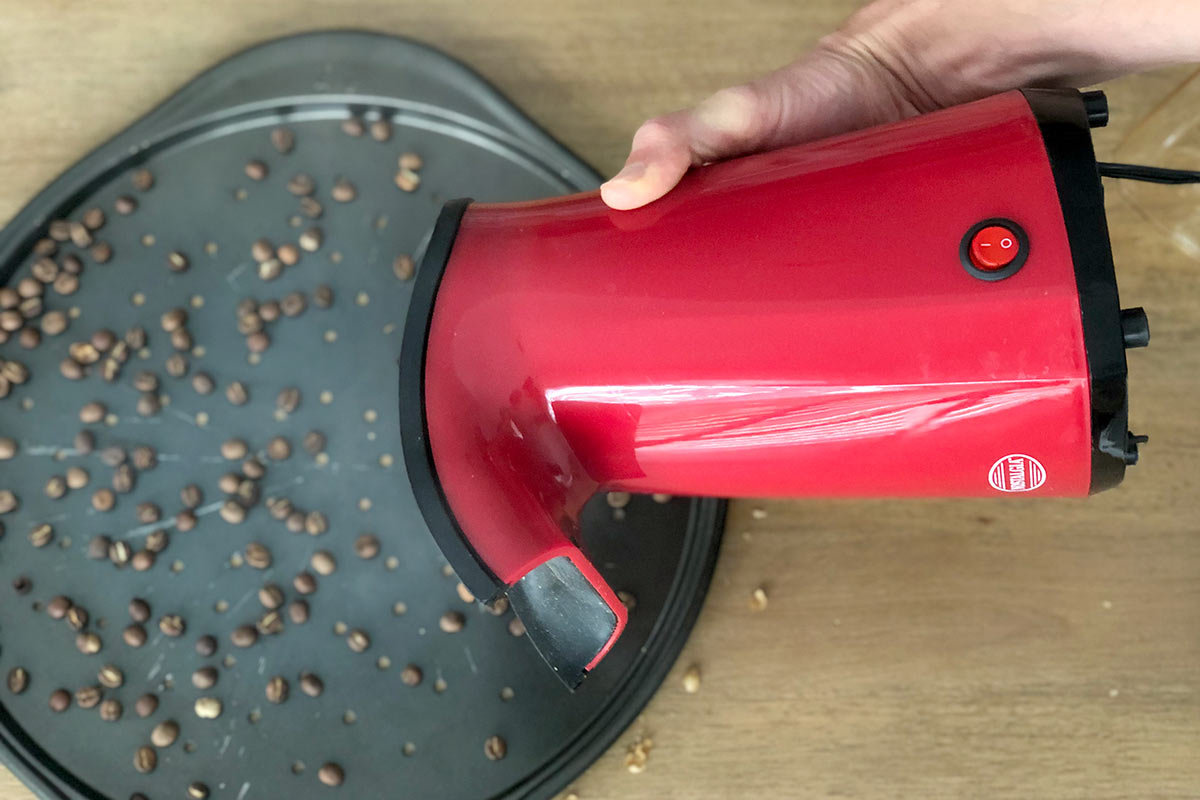
- Tray for the beans to cool after roasting
Buying Green Beans
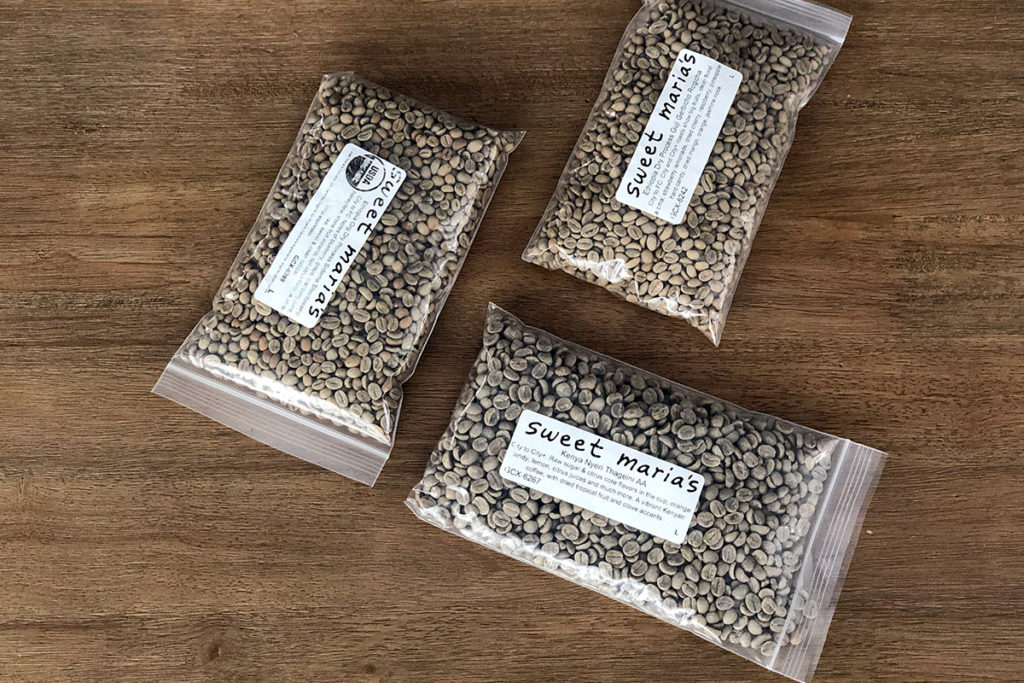
There are a variety of places you can purchase green (unroasted) coffee beans online, but many of them focus on wholesale accounts only. My favorite place to purchase green beans is Sweet Maria’s. They are based in Oakland, California and offer a wide selection of coffee. They give you the ability to search by origin, type (i.e. blends, decaf, good for espresso, etc.) and give you a lot of information about the beans (processing, flavor notes, best roast profile, etc.). Their prices are also very affordable. Most green beans cost between $5-7 per pound (compared to the same roasted beans costing between $16-22 per pound).
How Long Does it Take To Roast Your Own Coffee
The size of the beans, density of the beans, etc. can all impact roast timing.
A lot can determine the length of time it takes to roast the coffee (temperature of the room, humidity, specific popcorn popper/roaster you are using, amount of beans you are roasting, the desired roast level, etc.). In general it takes between 4-10 minutes to roast a batch in the hot air popcorn popper. I tend to prefer very light roasts, so mine usually come in between four and five minutes. The first few times you roast you’ll want to watch very carefully with all of your senses (see the changing color of the beans, hear the cracks, smell the coffee as it roasts, etc.). As you roast more though, you’ll become more familiar with the process and you’ll be able to better judge where you are in the roast process and how long to expect it to take.
Keep in mind that all coffees are different. Just because one coffee took 5 minutes for you to roast doesn’t mean the next one will be the same. The size of the beans, density of the beans, etc. can all impact roast timing.
What is First Crack?
During the roasting process, coffee goes through two “cracks.” The cracks are popping noises (sounds like popcorn) that happen as the green coffee beans expand and lose moisture. The moisture creates steam that forces the beans to crack open to release it.
First crack usually happens between 3-5 minutes and the coffee can be done anytime after this point. Light roasts are usually complete soon after first crack, medium roasts are complete sometime between first crack and second crack and dark roasts are complete around or immediately past second crack.
It can be tricky at first to identify first crack and differentiate it from second crack. This will get easier as you become more familiar with the roasting process and what sounds to expect and when.
Before You Get Started
Before starting it’s important to find a good place to roast. You don’t need a lot of space, but the popcorn popper will get a bit loud and can smoke a bit. Essentially you want to find a space that is well ventilated and has enough surface area for the popcorn popper and a large bowl to catch the chaff from the beans as they roast. Some places I’ve roasted in the past include:
- Next to a sink (for the chaff to fall into)
- Outside on a clean, flat surface
- A large table with enough space for the popcorn popper and a bowl to catch the chaff
- Under the stove with the fan turned on (for good ventilation).
Allowing Your Roasted Coffee to Degas After Roasting
While it is tempting to dive right into brewing your coffee after roasting it, it is recommended you wait a few days to allow the beans to degas. “Degassing is the release of gases from roasted coffee. When you roast coffee, gases – including a lot of carbon dioxide – form inside the bean.”1
Usually these gases get released within the first few days after roasting. If you brew while the beans are still degassing, the gas can cause small air pockets to form when you are brewing and cause uneven extraction of the coffee.
Bottom line, to get the best results from your hard work, show some patience and wait a day or two after roasting to brew your beans.
Note: There have been many times I haven’t shown this patience and brewed up the coffee right away. If you can’t show patience, the coffee won’t be bad if you brew it right away. Just know for the best results, you should wait a few days.
How to Roast Your Own Coffee at Home
-
Find a place to roast the coffee.
You don’t need a lot of space, but it will get a bit loud, will smell (I personally enjoy the smell, but it isn’t for everyone) and potentially smoke a bit.
-

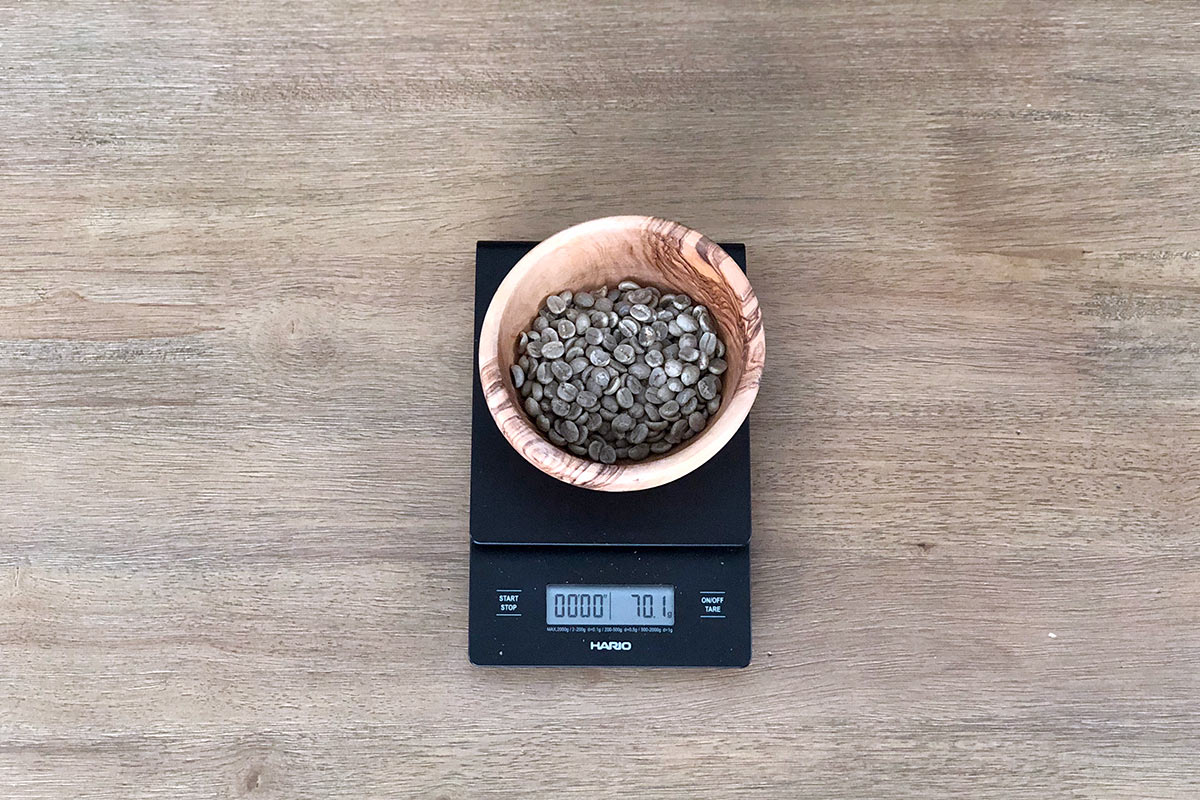
Measure out the green coffee beans.
You can roast as much or as little coffee as you’d like, but I’ve found 60-75 grams is the sweet spot for these smaller popcorn poppers. If you try to roast too many beans, it gets harder for the air from the popcorn popper to circulate the beans and get an even roast.
-
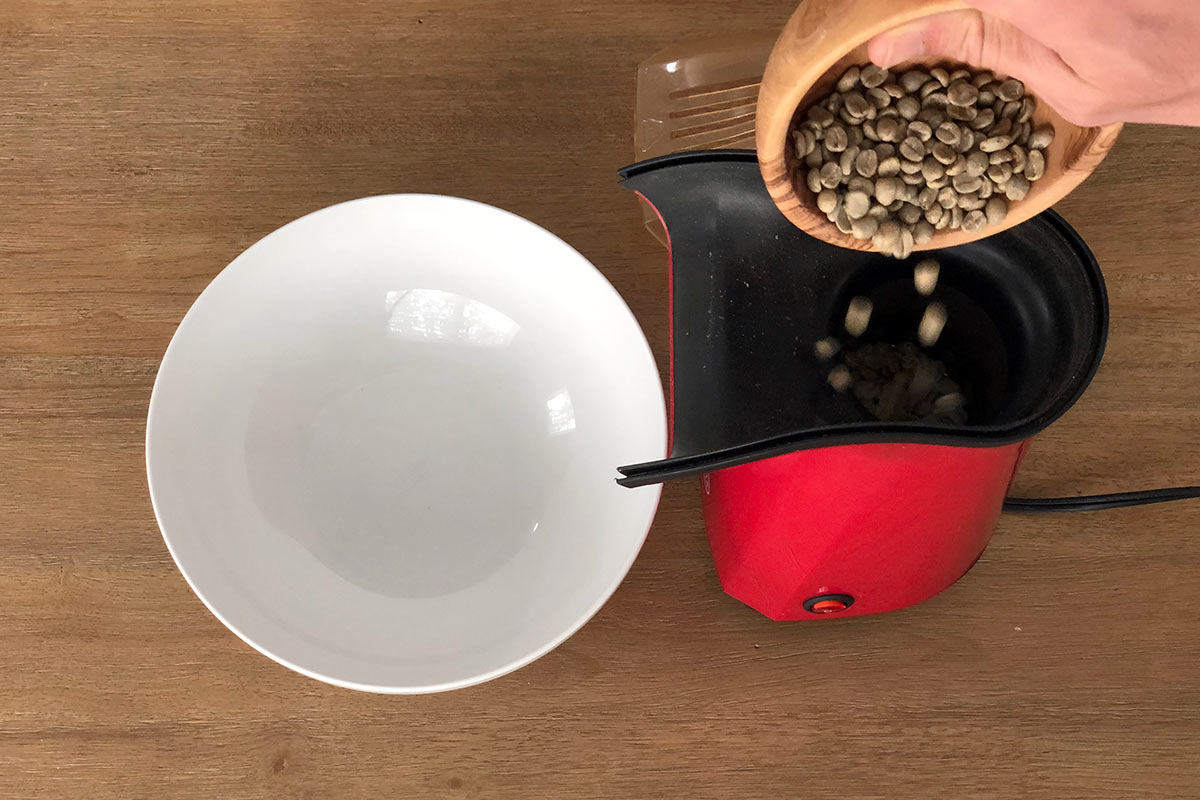
Begin roasting the coffee.
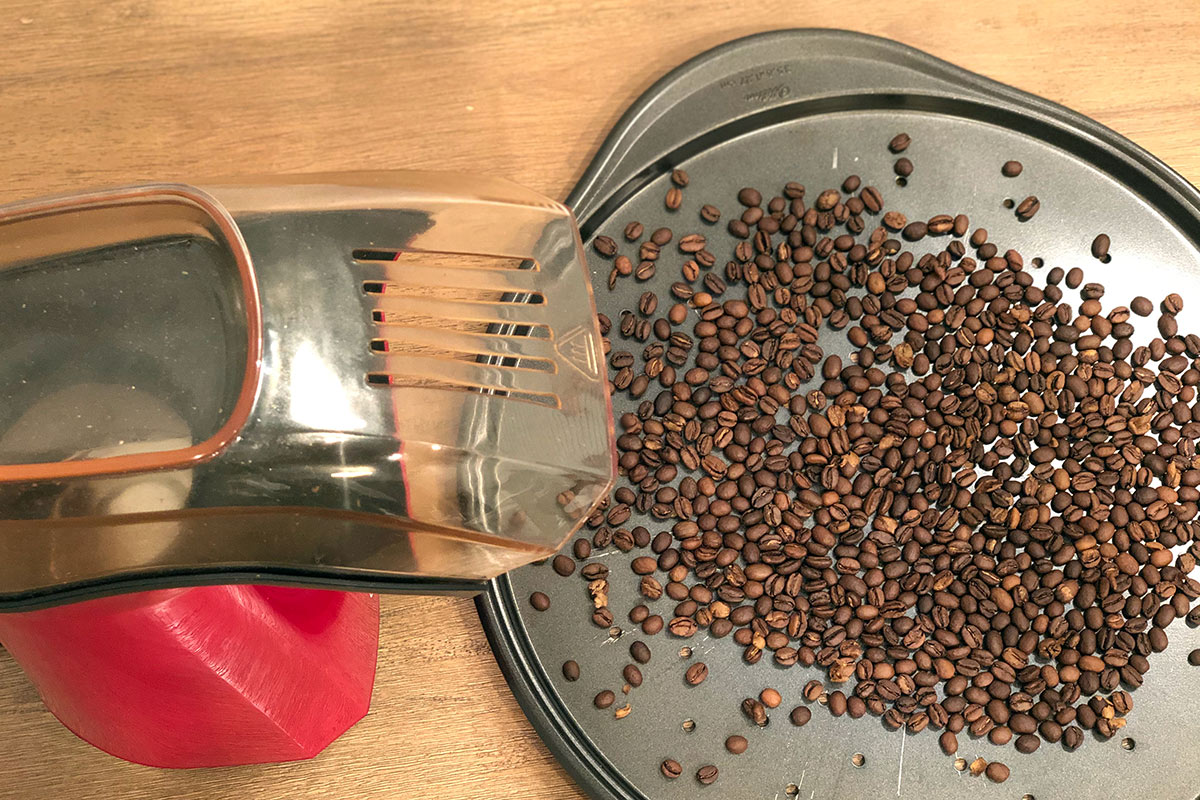
Pour the green beans into the popcorn popper and turn it on. The entire roast process will take 4-10 minutes from beginning to end. As the coffee begins to roast, I like to gently shake the popcorn popper to help the beans circulate more evenly. As the beans roast they become less dense, so the circulation happens without any intervention.
Remember: the popcorn popper will get very hot during the roasting process, so be sure to use some sort of protective equipment if it starts to get too hot. -
Listen for the first crack.
As the coffee begins to roast and darken in color, listen carefully for cracking noises. It will sound similar to popcorn popping and should happen around 3-5 minutes into the roast. You can choose to complete your roasting anytime after first crack. Keep a close eye on the beans through the popper to see their color and find the roast level that matches your preferences best.
-
Dump out the beans.
Once you have reached your desired roast level (experiment to find where that is based on timing, bean color, etc.)
-
Wait and enjoy.
While you can brew the beans right away, it is recommended to wait a few days after roasting to allow the beans to degas.
References
- https://perfectdailygrind.com/2019/01/why-does-coffee-degas-what-does-it-mean-for-brewers-roasters/