
The Aeropress is one of the least expensive, most versatile and easy-to-use brew methods available. In addition to being cheap and functional, it is super portable (making it the perfect travel brew option) and easy to clean (which should never be undervalued). It has the ability to make coffee similar to that of an espresso (at least in strength if not in consistency) all the way to a more standard pour-over. There are countless recipes when using AeroPress (many of which are published on the World Aeropress Championships website). This article describes an inverted method that creates a stronger cup of coffee somewhat similar to an espresso.

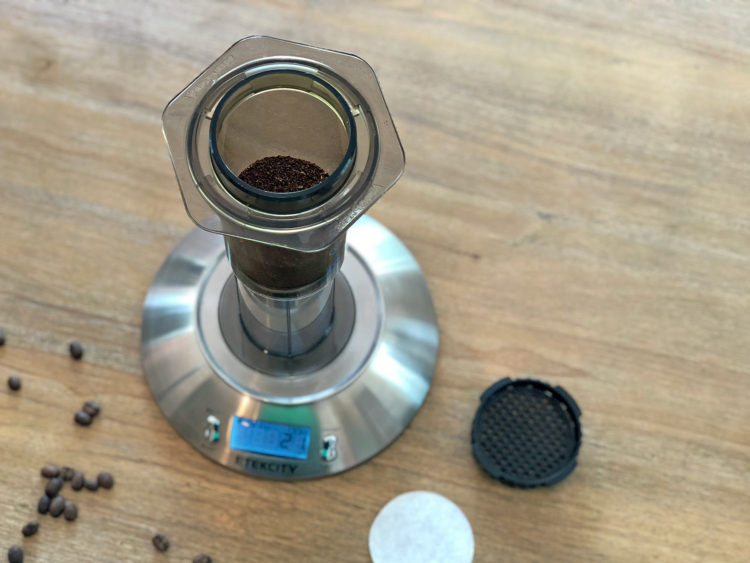
Measure out coffee.
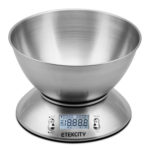
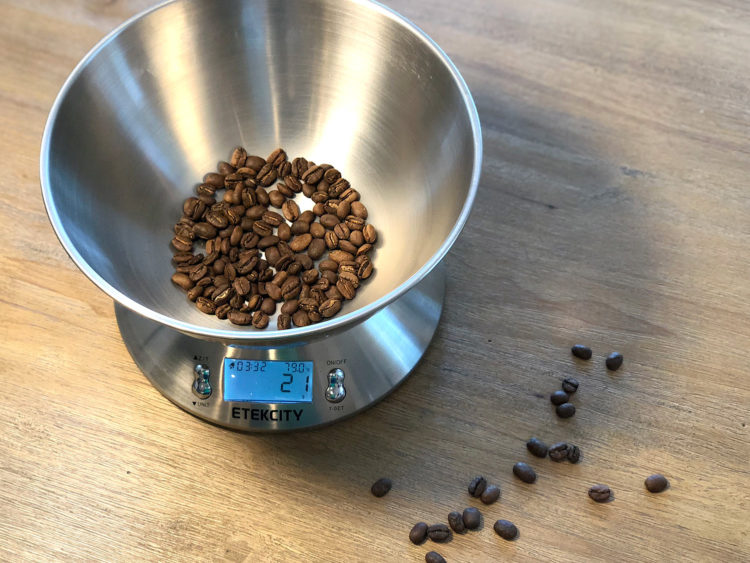
Using your digital scale, measure 21 grams of coffee. Using the 7:1 ratio, this will lead to close to a double-shot worth of coffee. Usually this coffee is mixed with water or milk/cream as you would with an espresso.
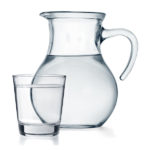
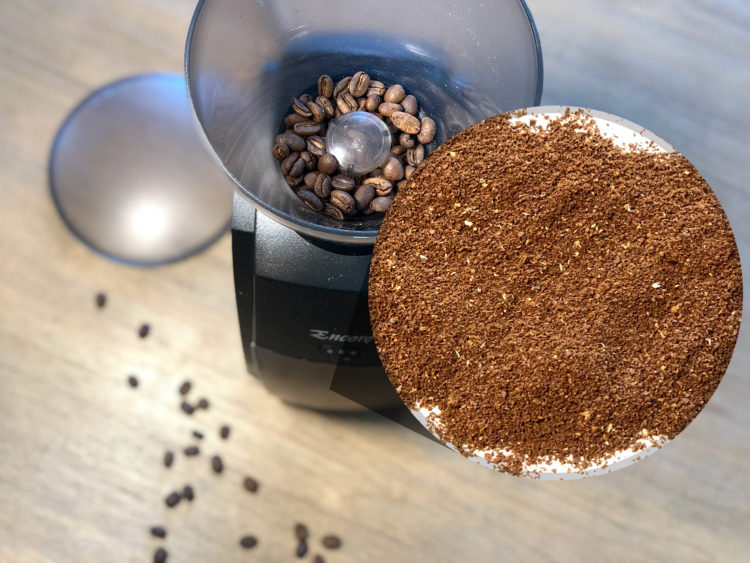
Grind coffee to fine consistency.
Using the Baratza Encore, the setting should be around 11 to 12. The coffee should be slightly finer than sea salt and look similar to the pictured coffee.
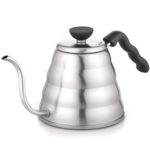
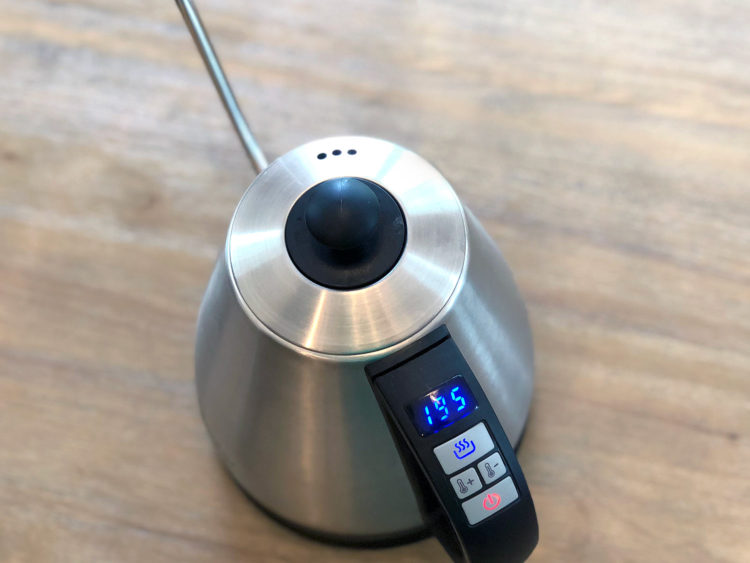
Heat water to 195° to 205°F (91° to 96°C).
If you do not have a kettle that will allow you to set a specific temperature, boil the water and then let it sit for 10 to 15 seconds to reduce the temperature.
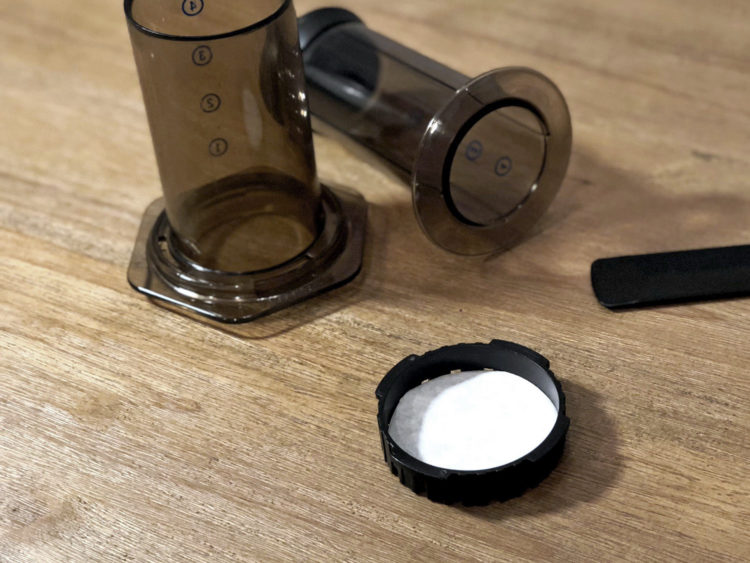
Insert paper filter, into the Aeropress’s detachable cap.
Rinse the filter to help it adhere to the plastic cap and helps reduce any taste the paper may impart to the coffee.
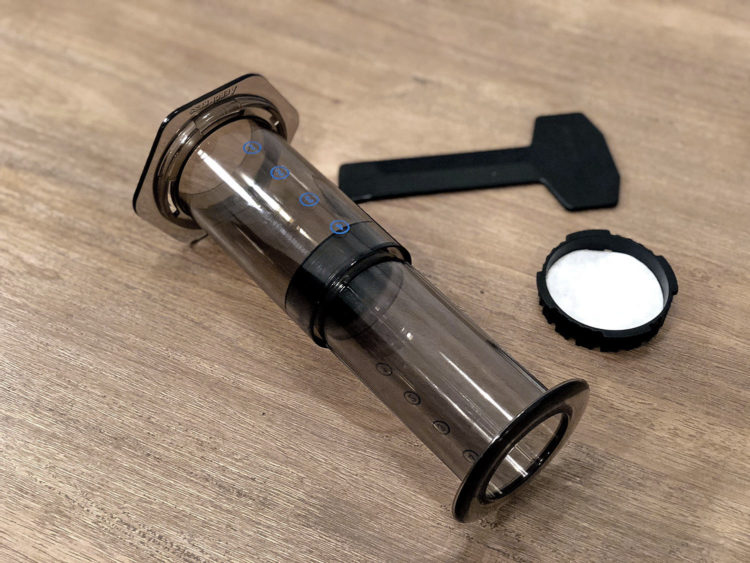
Assemble your AeroPress and flip upside down.
Align the suction cup at the “4” and make sure each piece is perfectly dry to avoid issues with the seal.
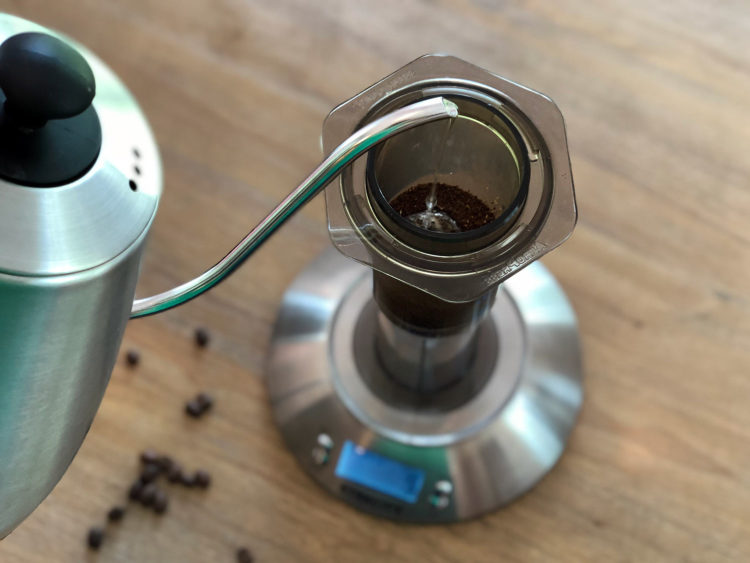
Add the coffee grounds to the AeroPress and zero the digital scale.
Add about 50 grams of hot water (or double the weight of the coffee you used) in concentric circles to the coffee, making sure you cover the grounds completely. Blooming the coffee helps release carbon dioxide from the beans and leads to better extraction. If you have fresh coffee, you should notice the coffee “rise” to a dome shape, like dough rising, and start to bubble. It should take at least 20 seconds to slowly pour the water to complete this step. After pouring the water, wait an additional 25 seconds. (Brew time: 0:45).
Bloom the coffee.
Add about 42 grams of hot water (or double the weight of the coffee you used) to the grounds, making sure you cover the grounds completely. Stir the grounds to completely saturate all of the grounds with water. Blooming the coffee helps release carbon dioxide from the beans and leads to better extraction. After pouring the water is complete, let the coffee sit for 30 seconds. (Brew time: 0:45).
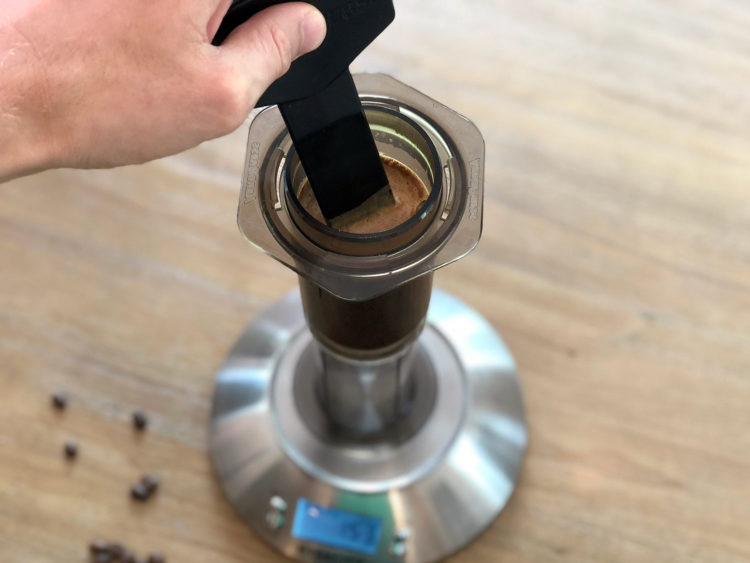
Slowly and continuously add the remaining water to the coffee.
Slowly pour the remaining 100 grams of water onto the coffee. After pouring all of the water, stir the grounds 5-10 times to agitate them. Let the coffee settle for an additional 30-45 seconds (Brew time: 2:00 – 2:30).
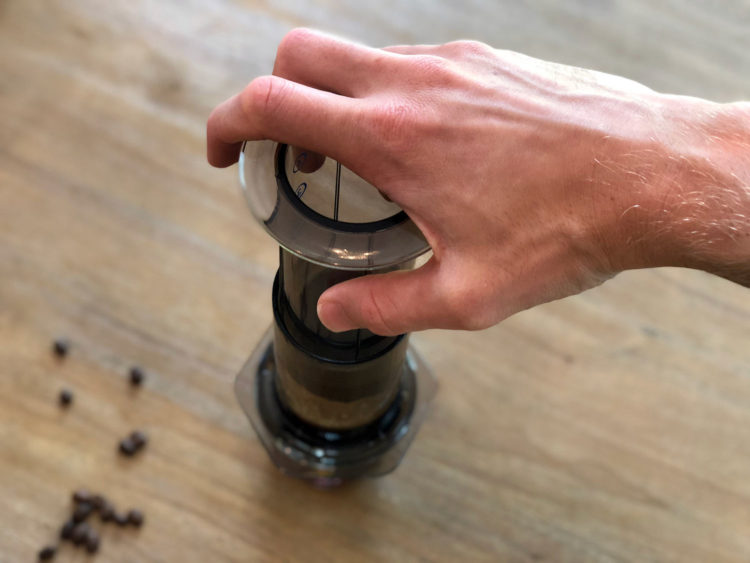
Fasten the cap tightly onto the AeroPress, flip over a sturdy cup or serving device and push down slowly.
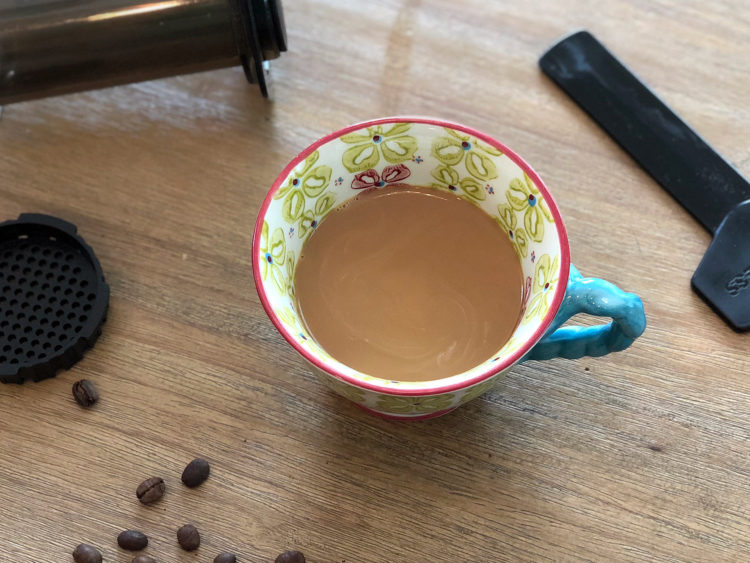
Discard the paper filter and ground coffee (you can compost both of them). Swirl the coffee for even flavor distribution and enjoy.
Pour your coffee & enjoy.
Remove the plastic cap and push out the coffee “puck” (you can compost both of them). Pour the coffee into a drinking device, add milk/cream (optional) and enjoy.
Tips for Problem Solving:
- In step 9, if the pushing feels too easy, your grind may be too coarse and you’ll want to try a finer grind next time.
- In step 9, if the pushing has too much pressure, your grind may be too fine and you’ll want to coarsen the grind next time.
- If the coffee is too bitter, it may be over-extracted, and you’ll want to coarsen the grind of the coffee.
- If the coffee is too weak or astringent, it may be under-extracted, and you’ll want to use a finer grind next time.