Are you new to pour over coffee? Have you struggled to dial in your pour over process? The question I get more than any other is what is my “go to” pour over recipe. While I am constantly adjusting things based on the coffee, brewer, etc., I have developed a framework that I continually come back to when brewing any pour over and is usually my starting point when looking to dial in a new coffee. In this article, I share my simple, yet flexible brewing framework and recipe for making pour over coffee. It is a very flexible framework that scales up and down based on brew size and has a variety of other parameters you can change to adjust the final result.
The Framework
At the bottom of the post is the step-by-step instructions for the recipe, but below is an overview at a high level:
- Dosage: The recipe can adjust from 12g to 30g (or more). In this post I’ll be using 20g as the coffee dosage because the numbers are easy to work with.
- Ratio: 1:16 – 1 gram coffee to 16 grams water. For this example, it is 20g of coffee to 320g of water.
- Bloom: 3x coffee weight, wait 30-45 seconds. For this exampe, you would bloom with 60g of water.
- Pours: After the bloom you split the final brew amount (260g in this example) into two pours (two, 130g pours in this example). If I increase the coffee dose to above 24g, I usually split the final pours into three instead of two.
- Total brew time: I usually don’t get too worried about total brew time as long as the final cup tastes good, but anywhere in the 2:45-3:30 range is good.
Additional Variables
The above is the framework that I start with, but there are some variables you can work with within this framework to adjust the final cup of coffee:
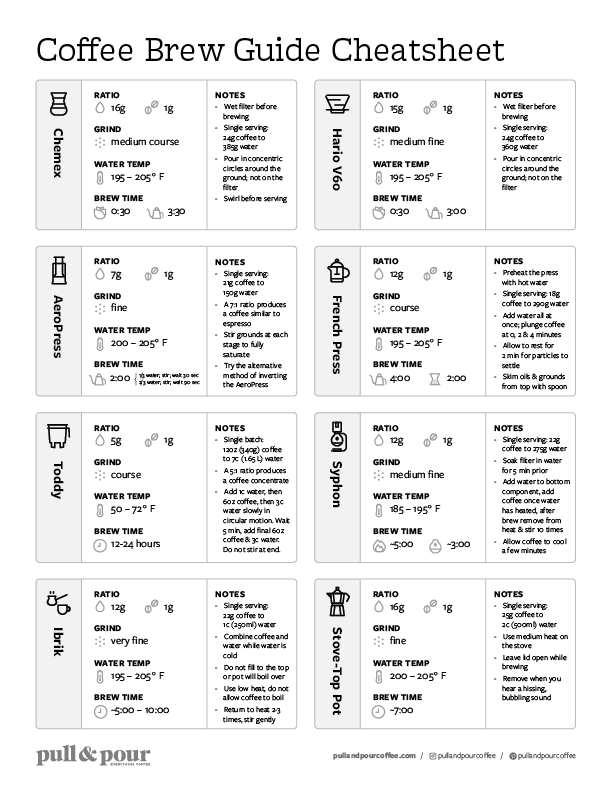
- Grind Size: I usually start with medium to medium fine as the grind, but will adjust finer or coarser based on the coffee I am brewing, the brewer I am using, and what specifically I am trying to get out of the coffee.
- Water Temperature: I usually brew close to 210°F (99°C) because most of the coffee I drink is roasted very light. In general anywhere between 195-212°F (90-100°C) works for light-roasted coffees, 185-200°F (85-93°C) for medium-roasted coffees, and 175-190°F (79-88°C) for dark-roasted coffees. Just remember, the higher the water temperature, the higher the extraction during brewing.
- Brewer: While the fundamentals of most pour over brewers are similar, their geometric, material, size, etc. all have an impact on the final cup you brew. I have many different brewers and switch between them frequently, but the brewer I am using does impact the overall brew.
- Agitation: Agitation can take the form of swirling or stiring (I don’t recommend shaking!). Increased agitation throughout the brew can increase extraction of the final cup of coffee. Usually I will do some mildly aggressive to gentle swirls after each pour to help fully saturate the grounds. On brews where I am trying to increase the extraction, I sometimes add in some additional stiring.

How to Make Pour Over Coffee: My Go-To Coffee Brewing Framework
Equipment
- Hario v60 or other pour over brewer
Ingredients
- 20 grams coffee ground medium to medium fine
- 320 grams water 205-210°F (96-99°C)
Instructions
- Add filter to brewer and pre-wet filter with brew water.
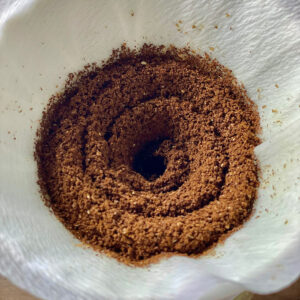
- Grind coffee to medium fine and add to brewer.
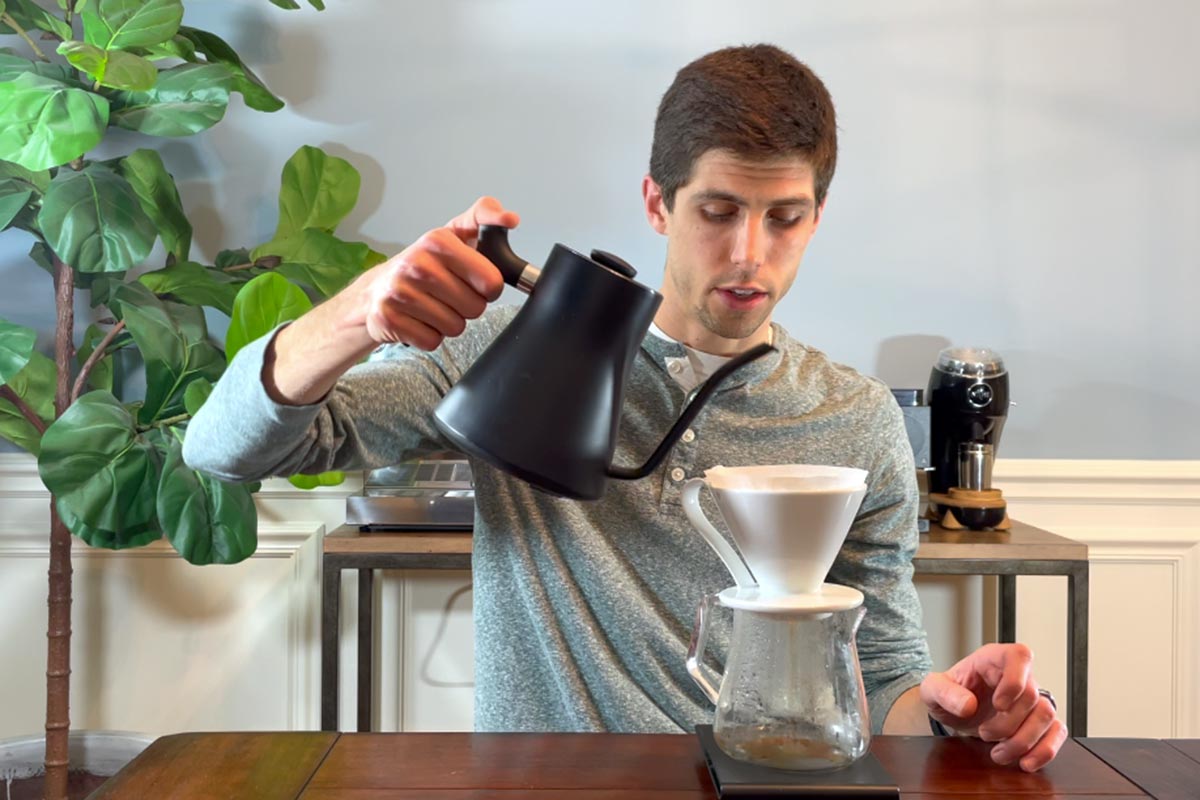
- At 0:00, bloom coffee with 60 grams of water (3x coffee weight). Start with a center pour and slowly work outward making sure to fully saturate all of the coffee grounds. After completely the pour, swirl brewer somewhat aggressively to help fully saturate the grounds.
- At ~0:45, pour additional 130 grams of water (half of the remaining water weight). For pour, again start in the center and work towards outside making sure to fully saturate all the coffee grounds, but not pour directly on the paper filter. After completely the pour, swirl brewer gently to level the coffee bed.
- At ~1:45, pour the final 130 grams of water. Again, start in the center and work outward. After the pour, swirl the brewer quite gently.
- Allow coffee to draw down. Total brew time should be between 2:45-3:30.
Video
Notes
- You can scale the recipe up and down from as low as 12 grams to as high as 30 grams. If you scale more than 24 grams, I recommend splitting the final set of pours into three even pours.

