Most coffee drinkers enjoy their daily cup of coffee without ever giving much thought to the intricacies of the flavor profile and other tasting traits of the coffee. While that is fine, I’ve found there is an extra level of appreciation when you do take the time to really sit with a cup of coffee and break down the individual characteristics of the cup and what you are tasting. “Cupping” coffee can sound intimidating and foreign at first, but the goal of this post is to make it more approachable and fun. I’ve included some tips if you are just getting started, and in the second post of this series I’ll share some coffee tasting games you could play with friends to explore coffees together.
Check out our post on tasting coffee to learn more about evaluating coffee and what to pay attention to when tasting different coffees.
Simply put, cupping coffee is the process of intentionally tasting coffee. It is the process professionals use to evaluate the quality of a coffee—in every step from deciding to purchase to enjoying it after roasting. It can be a strictly regimented process that is on par with how sommeliers judge wine. I am not a professional, and I imagine most people reading this aren’t either, so in this post I’ve attempted to simplify the cupping process and make it a bit more approachable for the average coffee drinker.
Why “cup” coffee?
Cupping coffee is a great way to experience coffee in a more intimate way. In the same way a person who is used to Starbucks and K-cups is blown away by a high-end specialty cup of pour-over coffee, the process of tasting coffee through the cupping process exposes an entirely new level of “unexpected and subtle flavors and helps you identify and appreciate different coffees.”
What do you need to “cup” coffee?
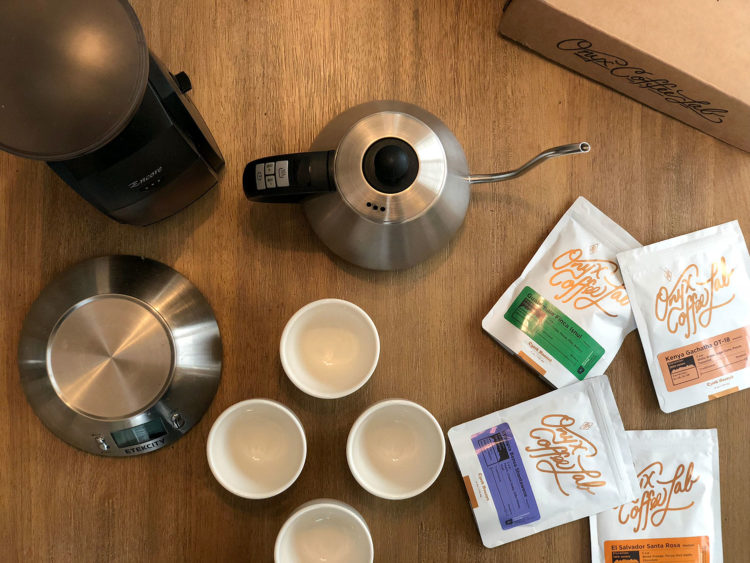
You don’t need much outside of your daily pour-over coffee-making equipment to get started with cupping coffee.
- Coffee grinder: Ideally you would use a burr grinder to have the most consistent grind, but it isn’t essential.
- Digital scale: Controlling the ratio between water and coffee is essential, so you’ll need a scale to achieve that level of precision. While they make some coffee-specific scales, any kitchen scale that allows you to measure in grams will do.
- Tasting cups: I have a set of Acme Evolution Taster Cups from Eight Ounce Coffee Supply that I love, but you have a lot of flexibility with what you use. Ideally your cups would:
- Be the same size (two cups per coffee you are tasting)
- Be a heat-proof material (ceramic, porcelain, etc.)
- Be seven to 10 ounces in size (to fit the coffee but not have too much space at the top once filled)
- Gooseneck kettle: You can use a normal kettle, but as with all pour-over methods, getting the specific ratio of coffee to water and saturating the grounds evenly is important, so a gooseneck kettle provides the level of control you need.
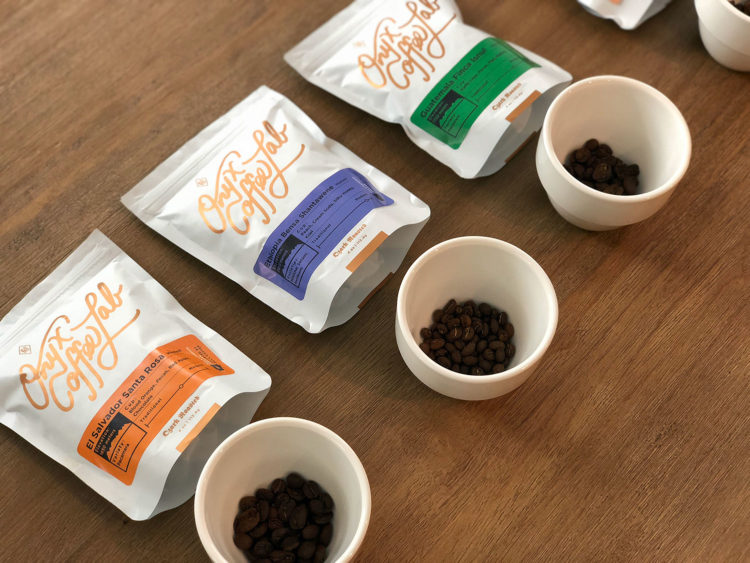
- Fresh, high-quality coffee: You’ll want to have freshly roasted (within the past one to two weeks), high-quality coffee to get the most out of the coffee tasting. Be sure you start with whole-bean coffee. Coffee begins to lose some of its aromatic qualities from the moment it is ground, so for a process like cupping you really need freshly ground coffee.
How to cup coffee?
Cupping coffee at home is easy. You don’t have to be a coffee expert to do it, by any means. You can decide if you want to cup a single cup of coffee and explore its flavors or cup multiple coffees side by side and compare their differences. Either way, the process is the same. Follow the steps below to get started:

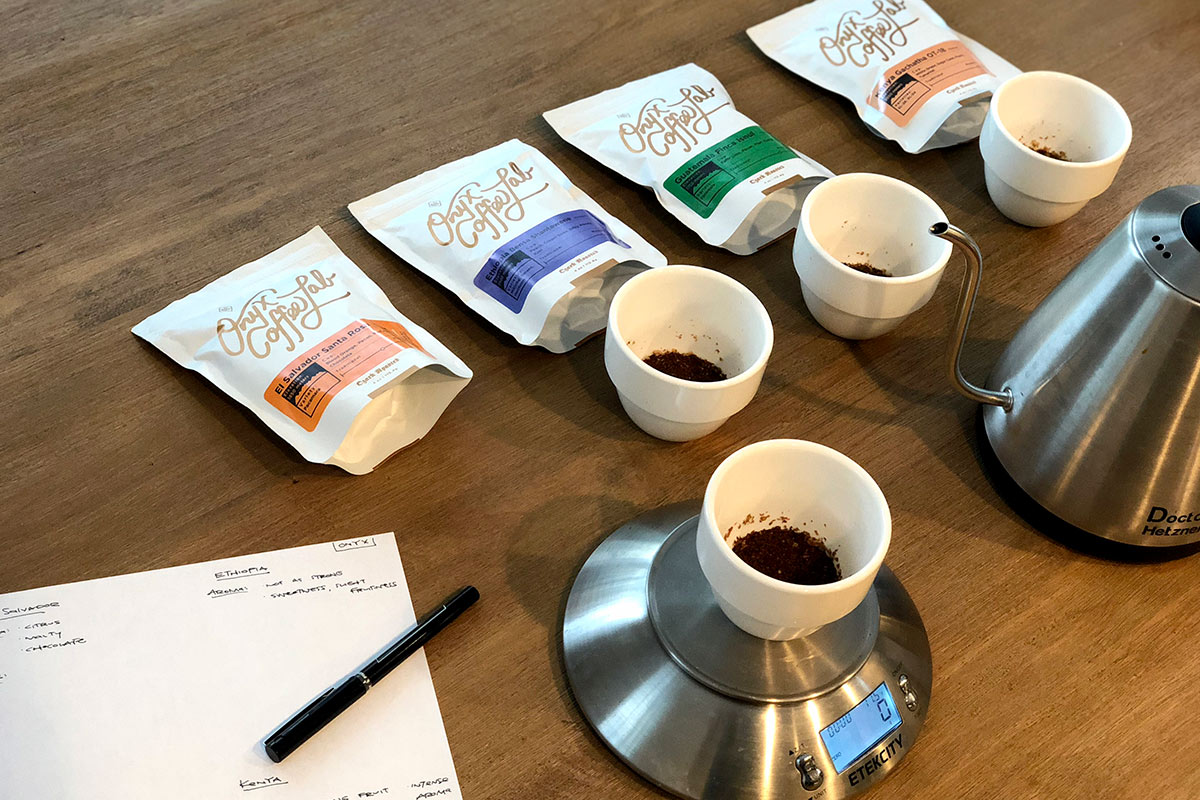
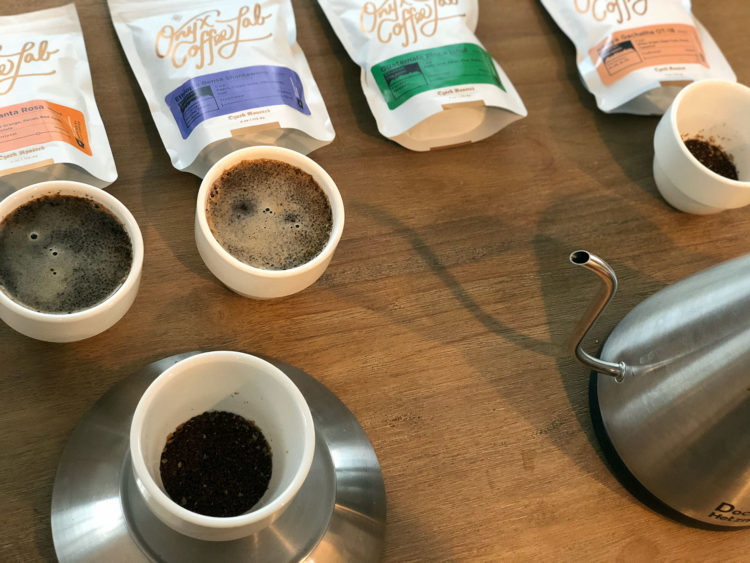
Get all of the coffee and equipment ready.
Once you get started, you’ll want to stay focused, so it is helpful to get everything out and ready first before you start grinding beans or pouring water. You’ll also want to download and print out our tasting sheet so that you’re ready to write down your thoughts at each stage of the cupping.
Measure out 10 grams of each coffee into each cup and grind to a medium fineness.
Grind the coffee medium fine (a bit finer than you would for pour over). I usually am around 17-20 on a Comandante grinder. After grinding the coffee, pour it back into the tasting cup. Be sure to use a few beans from the new coffee to “purge” the grinder after each coffee to make sure there isn’t any cross-contamination.
Smell the coffees
The way the coffees smell before brewing is called the fragrance (vs. after brewing, which is called the aroma). There can be differences in smell throughout the process, so it is important to smell at every step. Take notes of the fragrance on the tasting sheet. Some questions to ask at this step: What flavors do you smell? What do the smells remind you of?
Heat water and pour over the coffee.
Heat the water to 208°F ± 2°F (97°C–99°C). If you don’t have an electric kettle, you can boil water and let it cool for just a few seconds. Pour the water over the coffee grounds, making sure to saturate all of the coffee. The water-to-coffee ratio should be 17:1, so with 10 grams of coffee you should pour 170 grams of water.
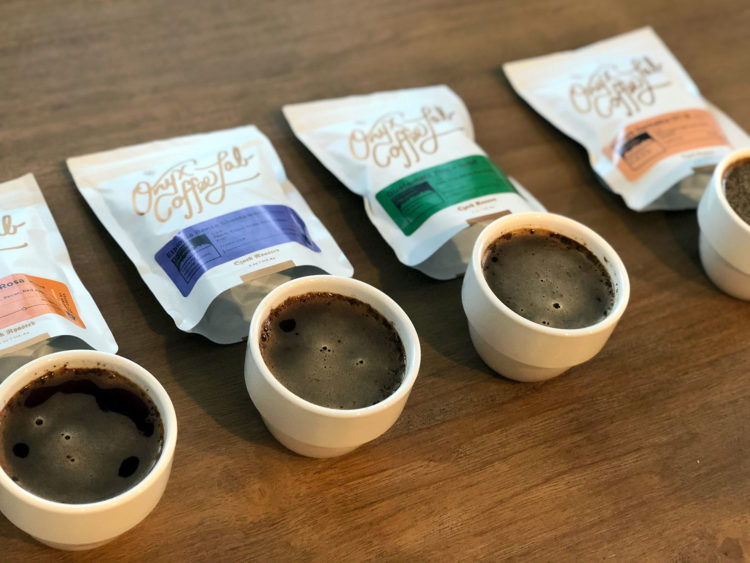
Allow the coffees to steep and evaluate the aroma.
Let the coffees sit untouched for 3-4 minutes to brew the coffee. While waiting, make notes about the smell of the coffee again. A crust of coffee grounds should form at the top of each cup. Be sure to not break this crust while smelling the aroma. How does this smell compare to the smell of the dry coffee beans? Is it stronger, weaker, better or worse? What similar or different smells can you identify?
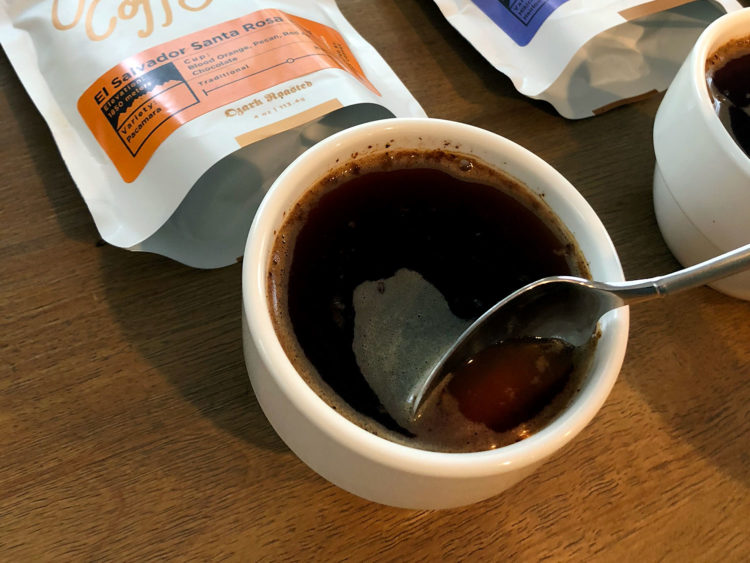
Break the crust of coffee beans at the top of the cup.
Using your spoon, start closest to you and move away with the back of the spoon to “break the crust.” Keep your nose close to the cup when you do this to experience the rush of aromas that will come as you break it. Write down your thoughts about the smell. Once the crust is broken, most of the coffee grounds should sink to the bottom of the cup of coffee. Skim off any that remain with your spoon and discard.
Slurp that coffee.
Dip your spoon into the coffee and slurp the coffee from the spoon with a little air. Yes, it looks and sounds ridiculous, but drinking the coffee in this way helps spread the liquid across your entire palate and helps you appreciate the aromas as much as possible. In general, the louder the slurp, the better. Some questions to ask when tasting the coffee: How does it taste? What does it remind you of? Can you pick out any flavors (berries, nuts, spices, etc.)? How does it make your mouth feel (dry, creamy, thin, heavy, etc.)? What flavors/tastes are you left with after swallowing?
If you aren’t as familiar with the flavors present in coffee, keep the SCAA Flavor Wheel by your side to help with taste. It can suggest flavors and a vocabulary to draw from while tasting the coffee.You also want to be sure to try the coffee multiple times as it cools. Good coffees evolve as their temperature cools to bring out different flavors and characteristics of the coffee.Note: There are specific spoons designed especially for cupping coffee. Likely, you don’t have one, which is okay. You can use a soup spoon or even slurp from the cup, and it will still work. The professional spoons offer several benefits: they have the perfect angle for cupping, the deeper well can hold four to five milliliters of coffee, and they are made from a non-reactive metal (just like most silverware).
Compare coffees.
If you are sampling different coffees, try one after another in quick succession to compare aromas and flavors. Be sure to write down your notes right away after trying a coffee to help you describe and remember what you tasted in each coffee. You don’t want time or other coffees to influence your thoughts about another coffee.

Experiment & Enjoy!
At the end of the day, the main reason to cup coffee on a personal level is to enjoy your coffee more. Have fun as you try new coffees, compare coffees you already love and explore the amazing world of speciality coffee more thoroughly.
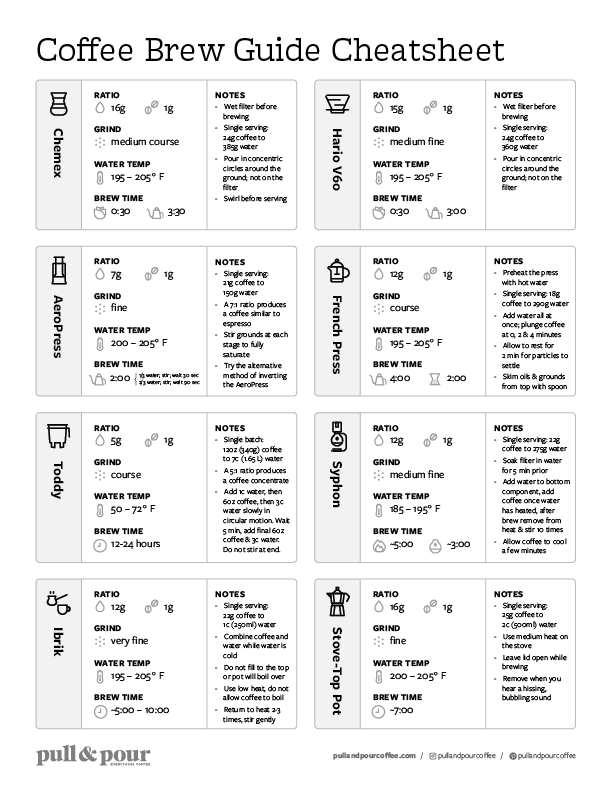
Cupping Coffee in Infographic format
Pull & Pour and Scott Rao collaborated together to create an easy-to-save infographic about cupping coffee that follows closely to the steps above. Bookmark it and save it as a quick reference!