
What You Need
This section contains affiliate links, meaning, if you click through and make a purchase, I may earn a commission. This is at no additional cost to you and helps support Pull & Pour. Thank you!


Brew Specs
Grind
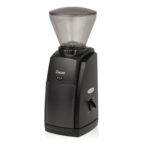
Medium Fine12–13 on Baratza Encore
Brew Ratio
16:1water + ice to coffee
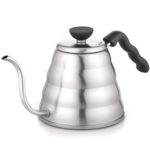
Water Temperature
195 – 205° F(91 -96 ° C)
Brew Time
00:03:30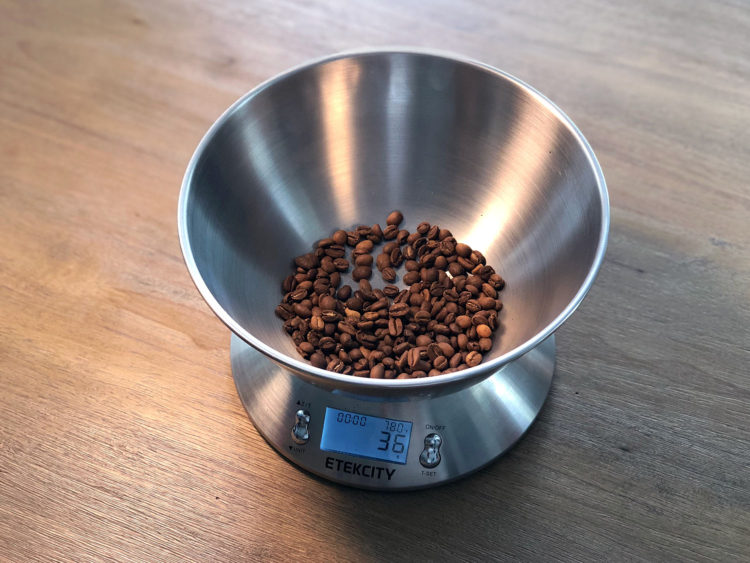
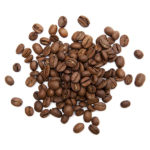
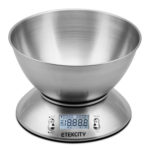
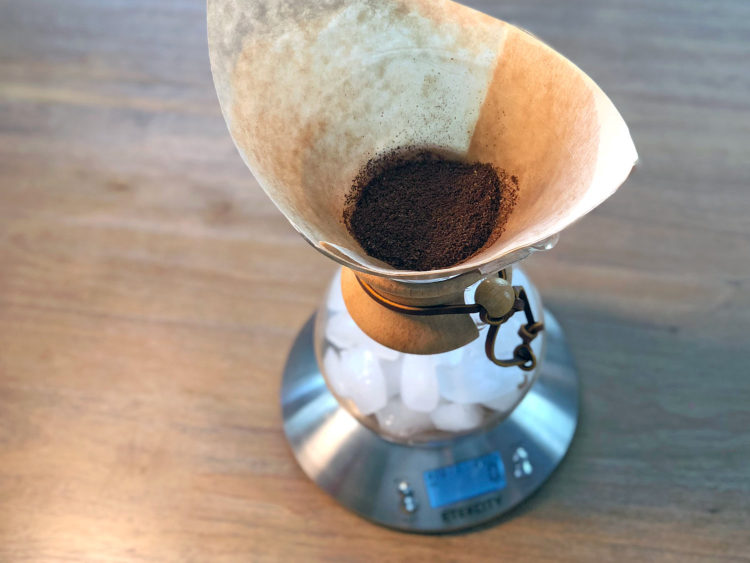
Measure out coffee.
Using your digital scale, measure 36 grams of coffee.
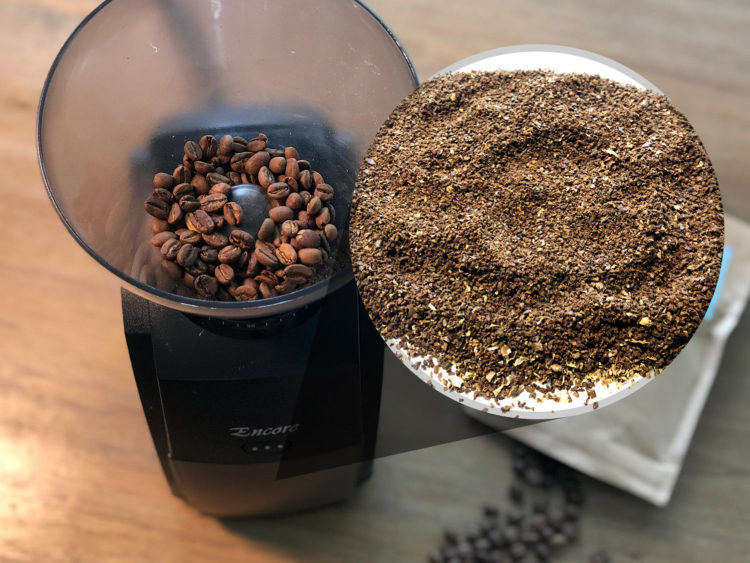
Grind coffee to medium-fine fineness.
Using the Baratza Encore, the setting should be around 12 to 13. The coffee should look similar to the pictured coffee. Because you are using less water, you want a finer grind than you would usually use with the Chemex brew method, to try to extract the same amount of coffee with only two-thirds the amount of water.
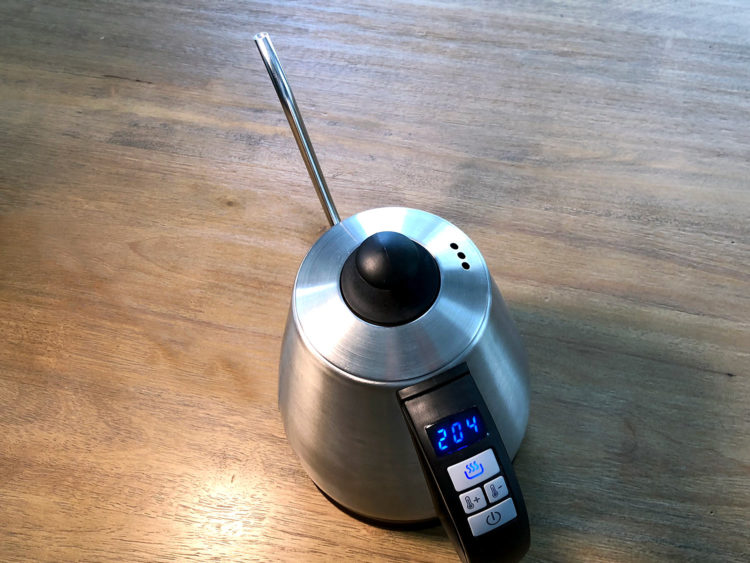
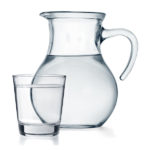
Heat water to 195° to 205°F (91° to 96°C).
If you do not have a kettle that will allow you to set a specific temperature, boil the water and then let it sit for 10 to 15 seconds to reduce the temperature.
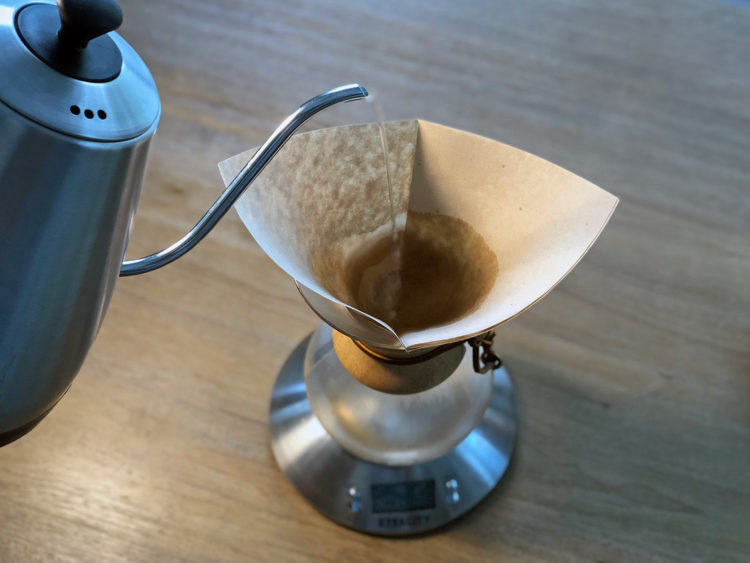
Rinse the filter.
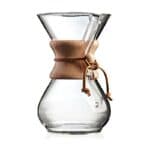
While the water is heating, place the paper filter in the Chemex and rinse with either the heated water or hot tap water (60 to 75 grams). Discard the rinse water. Rinsing the filter helps reduce any taste the paper may impart to the coffee. Because of the thicker paper of the Chemex filter, it is especially important to wet the filter first to avoid any paper tastes and ensure the structure of the filter in the cone.
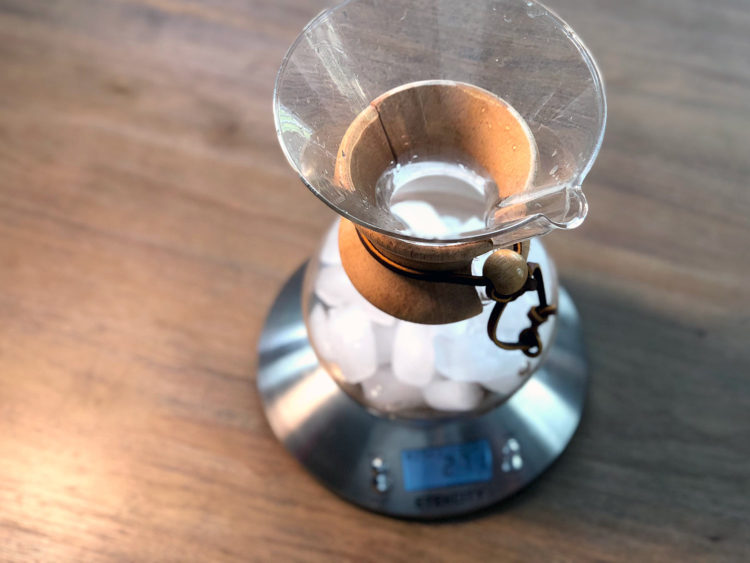
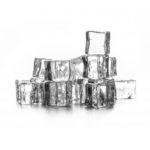
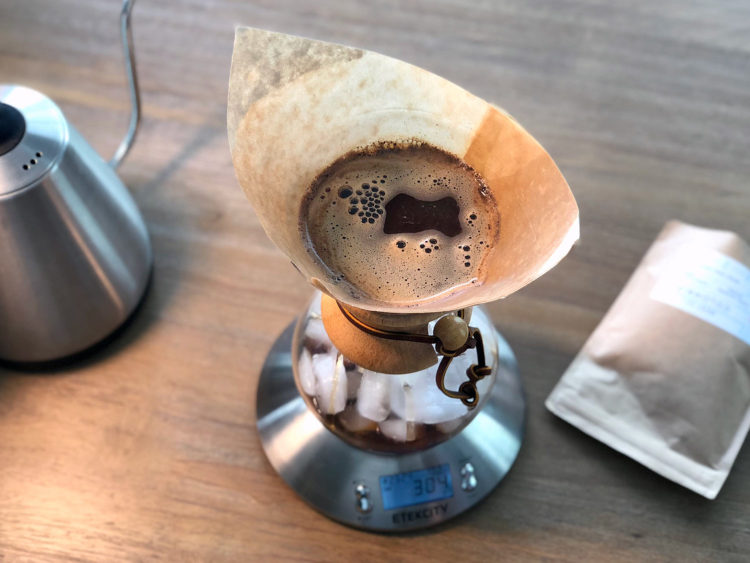
Add ice to the Chemex.
Add 270 grams ice to the bottom of the Chemex. Ideally, you’d use ice cubes that are as large as possible to reduce the amount of surface area, so they melt more slowly.
Add grounds to filter and zero digital scale.
At this stage, you should be ready to begin actually brewing the coffee.
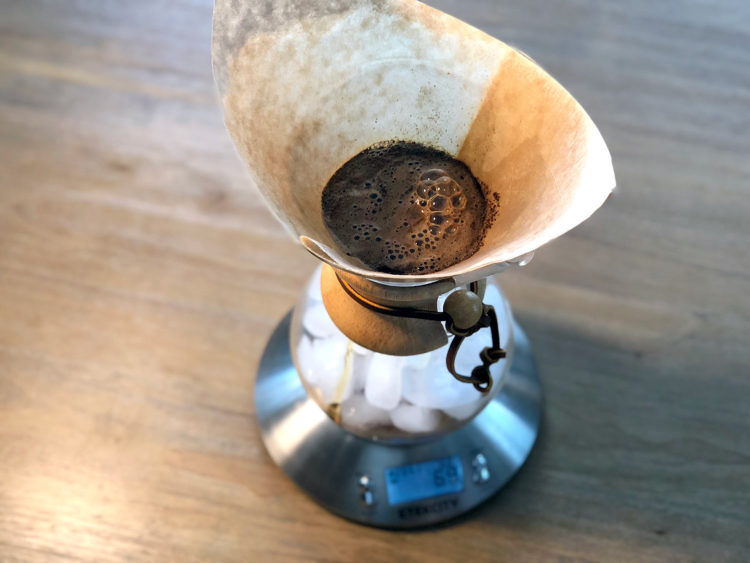
Bloom the coffee.
Add about 70 grams of hot water (or double the weight of the coffee you used) in concentric circles to the coffee, making sure you cover the grounds completely. Blooming the coffee helps release carbon dioxide from the beans and leads to better extraction. If you have fresh coffee, you should notice the coffee “rise” to a dome shape, like dough rising, and start to bubble. It should take at least 20 seconds to slowly pour the water to complete this step. After pouring the water, wait an additional 25 seconds. (Brew time: 0:45).
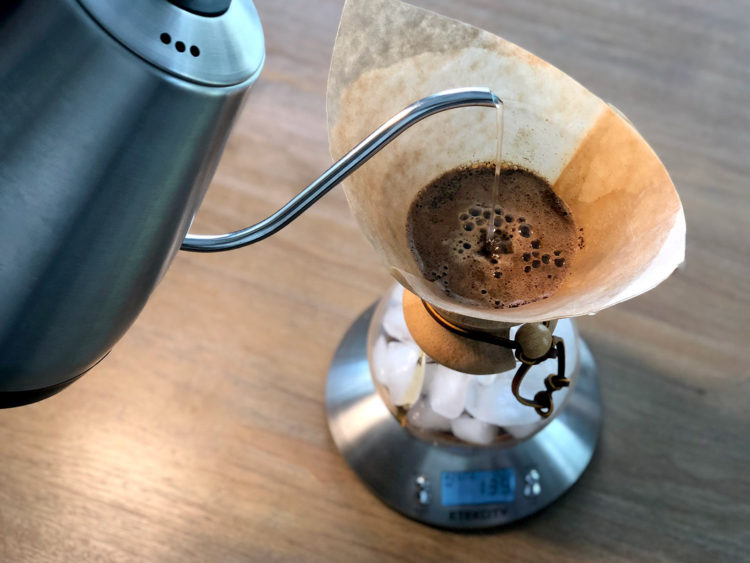
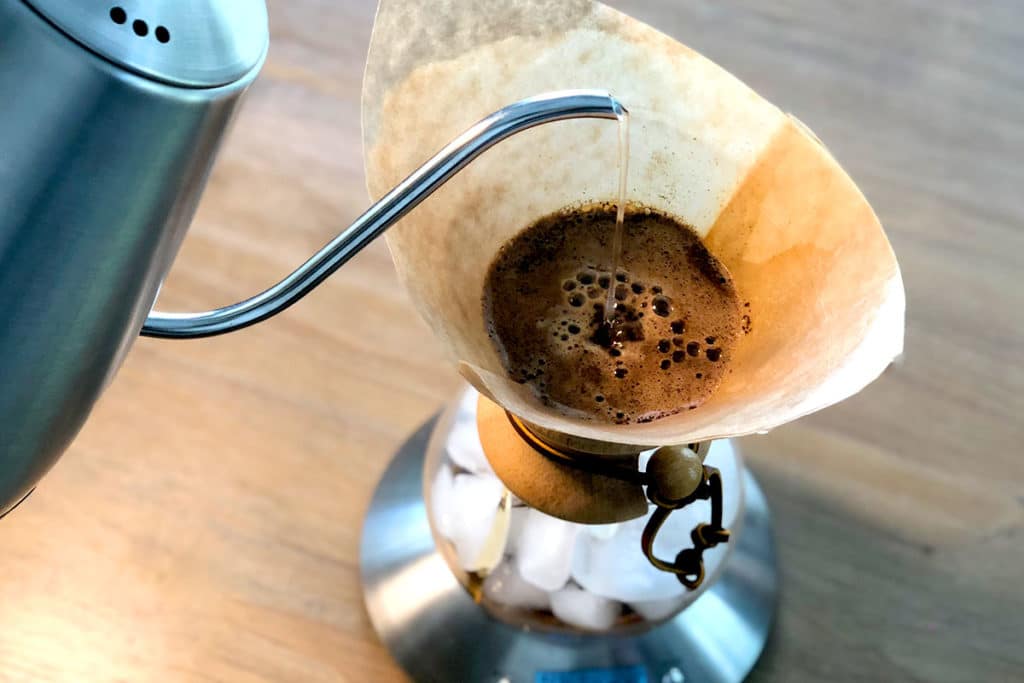
Slowly and continuously add the remaining water to the coffee.
Pour the remaining 235 grams of water onto the coffee, starting in the center and making concentric circles outward (making sure to not pour the water directly onto the paper filter because the water can pass through without fully extracting the coffee). Try to finish pouring the remaining water in about 1:30 minutes. (Brew time: 2:15).
Allow water to fully drain through coffee.
Let the coffee drip until the coffee looks dry and is flat at the base of the brewer. If the grind size and pour rate were both correct, the coffee should finish filtering through after around a minute. (Brew time: 3:30).

Pour into a glass & enjoy.
Discard the paper filter and ground coffee (you can compost both of them). Pour into a glass and enjoy.

Tips for Problem Solving
- Put the multilayered side of the filter on the pouring side of the Chemex. This ensures the structure of the filter even when wet, so it doesn’t collapse into the pouring spout and affect airflow.
- If you don’t have as much ice as you would like in the final coffee, you can either try to adjust the ice-to-water ratio a bit or use larger ice cubes, so they melt more slowly.